


Step 1: Create a Hubspot Account
If you don’t already have one, create a Hubspot CRM account. Hubspot offers a free account with up to 1,000,000 contacts.
1. Go to https://www.hubspot.com
2. Select Get HubSpot Free > Get free CRM
3. A valid email address, website URL and company name are required to create an account
Step 2: Create a Custom Property in Hubspot
Create a custom Hubspot property to capture Blue Bite’s mTAG ID so that you can attribute a user signup to the specific Blue Bite object.
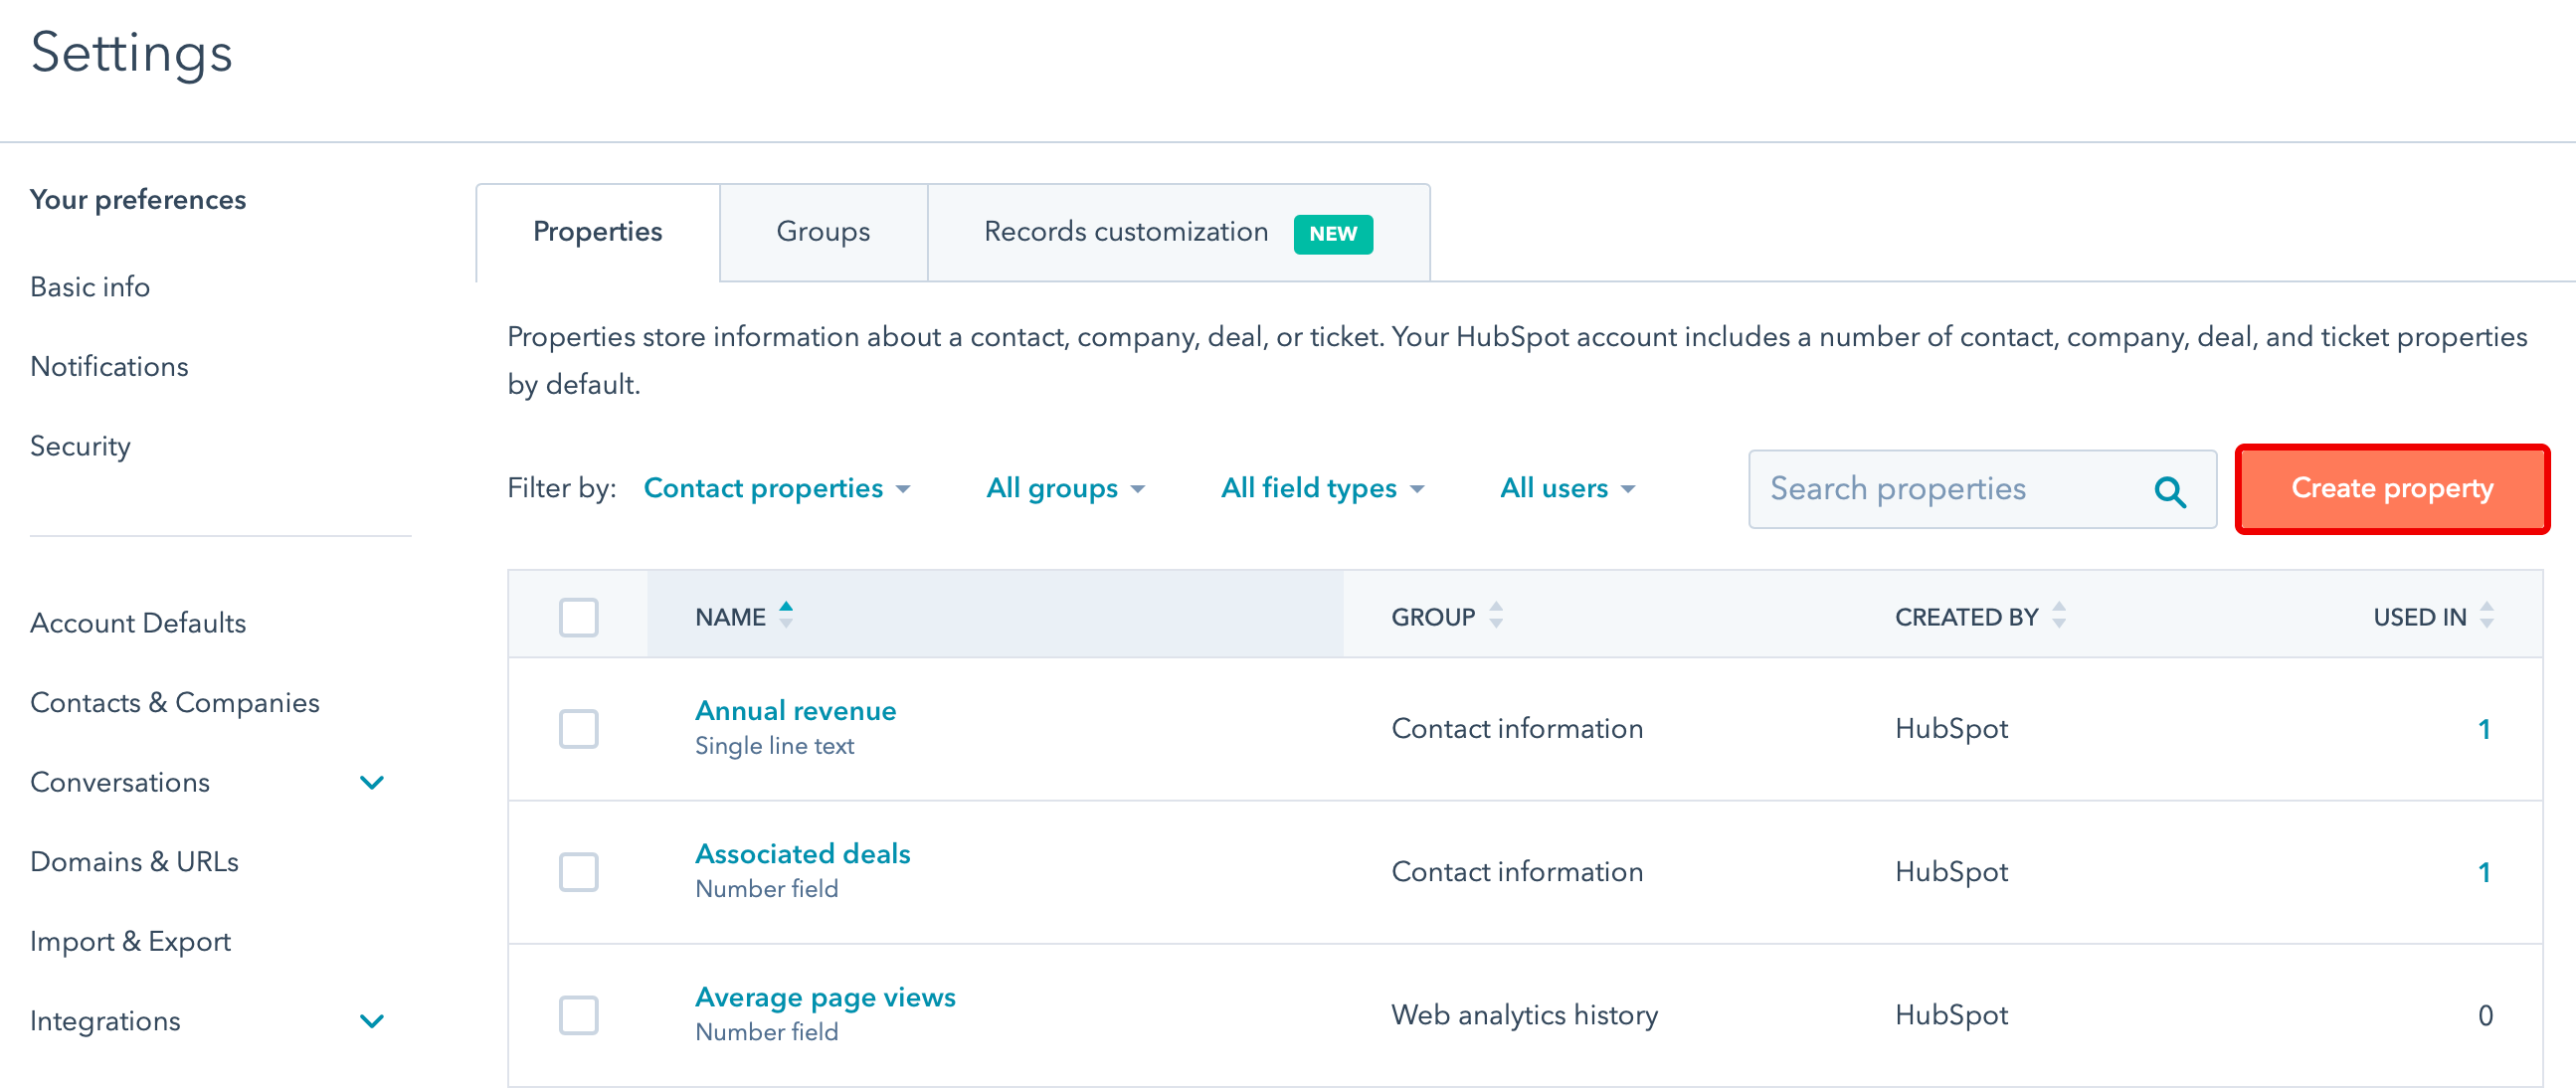
1. Log in to your Hubspot account, navigate to Settings (Gear icon) > Properties > Contact Properties > Create Property
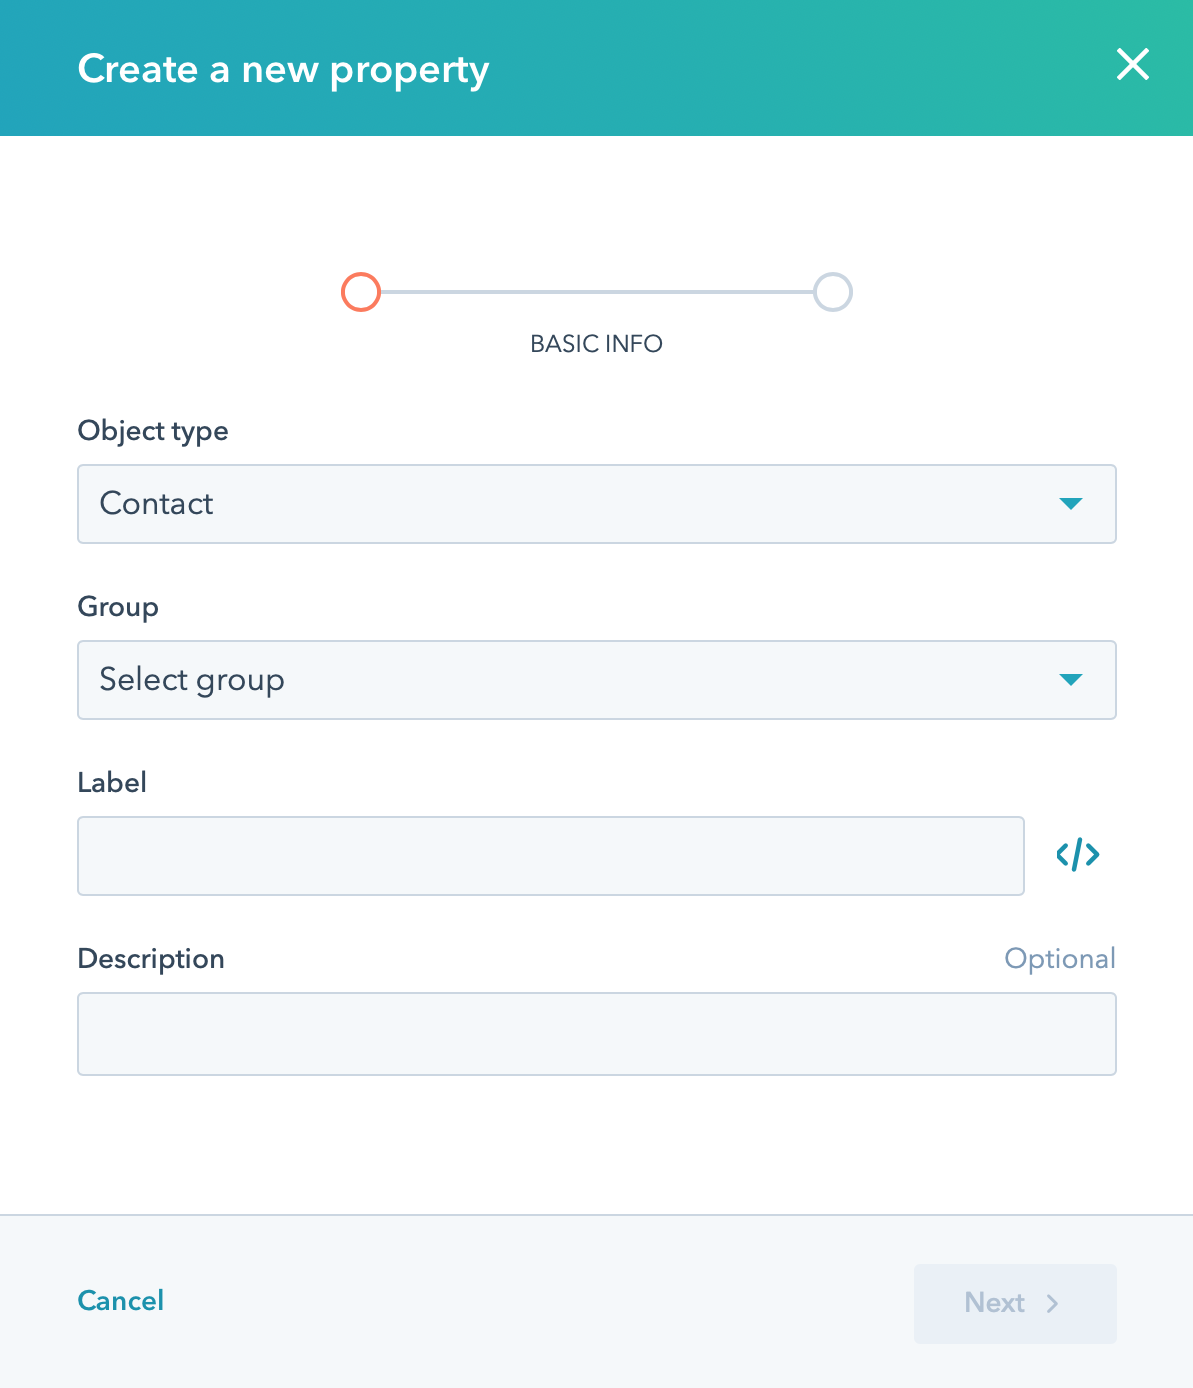
2. Create a new contact-property: mTAG ID
3. Use the following configuration:
Label: mTAG ID
Internal name: mtag_id
Description: Blue Bite's unique object ID
Group: Conversion information
Field Type: Single-line text
Show in Forms: Checked
Step 3: Create a Form in Hubspot
Create a simple form that collects first name, last name, email address and mTAG ID.
1. Navigate to the forms page (Marketing>Forms) and select Create a free form
2. Click Regular Form then Next
3. Select Blank Template
4. The blank form populates with the Email field. Select First name, Last name and the newly created mTAG ID property by dragging the fields into the form. You don’t need to edit the properties of either of these fields.
5. Publish the Form, click Embed Code, then extract and save the portal ID and form ID, labeled portalId and formId in the example code below.

Example Embed Code
<script charset="utf-8" type="text/javascript" src="//js.hsforms.net/forms/shell.js"></script>
<script>
hbspt.forms.create({
portalId: "9999999",
formId: "604e4a4c-fb7a-4ddb-9a0a-ad5db63fa317"
});
</script>
6. After you have copied the portal ID and form ID, close the popup and click Options in the top menu of the form details. Navigate to Form > Options and use these settings. Any settings omitted from the information below are optional.
What should happen after a visitor submits a form?
Display a thank you message
Pre-populate fields with known values
Off
Step 4: Create a Form in Blue Bite’s Studio
Create a simple form in the Studio that collects first name, last name, email address and mTAG ID.
1. Create a new Studio file.
2. Add a Form wrapper to the experience and use these configurations
Title: (The title given here will appear on the mobile experience)
Type: Fetch/AJAX
Action: https://api.hsforms.com/submissions/v3/integration/submit/:portalId/:formGuid (Fill in the :portalId and :formId from step 3,5 above)
Method: POST
Body Template:
{
"fields": [
{
"name": "firstname",
"value": "{{form:entry:firstname || ""}}"
},
{
"name": "lastname",
"value": "{{form:entry:lastname || ""}}"
},
{
"name": "email",
"value": "{{form:entry:email || ""}}"
},
{
"name": "mtag_id",
"value": "{{tag:mtag_id || ""}}"
}
],
"context": {
"pageUri": "{{page:url || ""}}",
"pageName": "STUDIO FILE NAME"
}
}
(This template will only work with one form and the fields described above in this how-to)
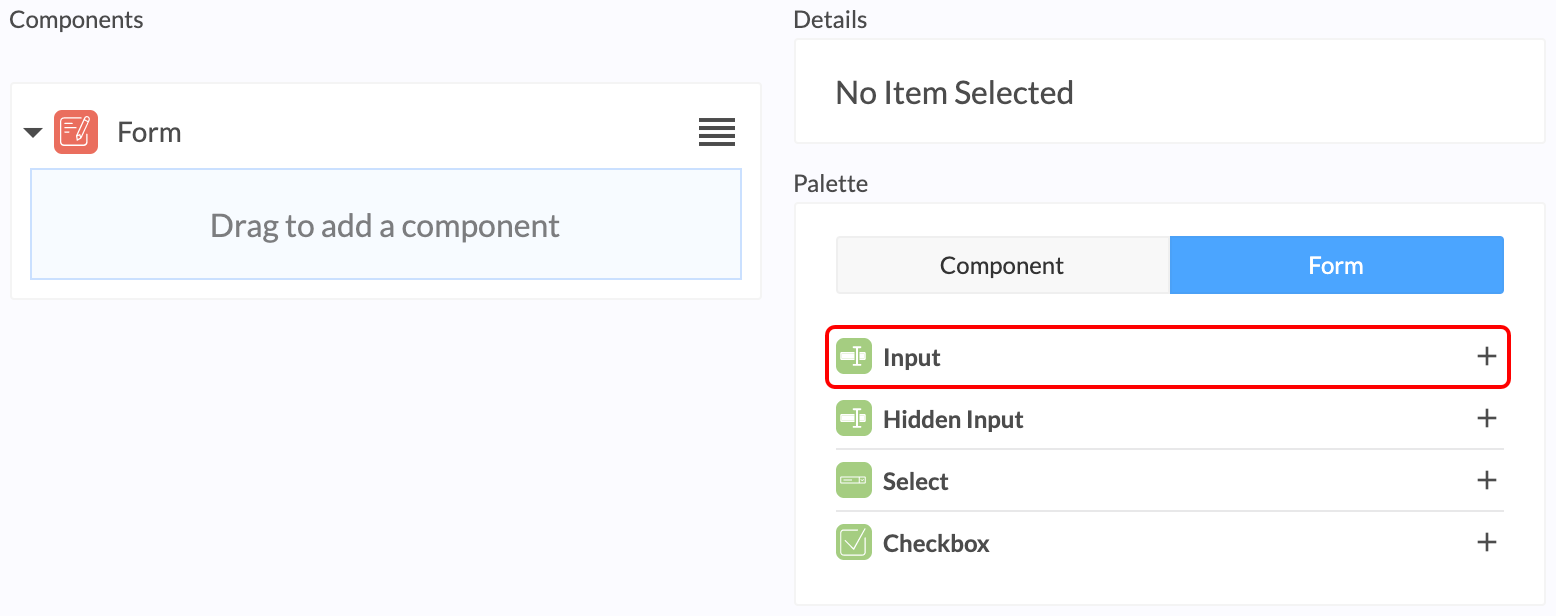
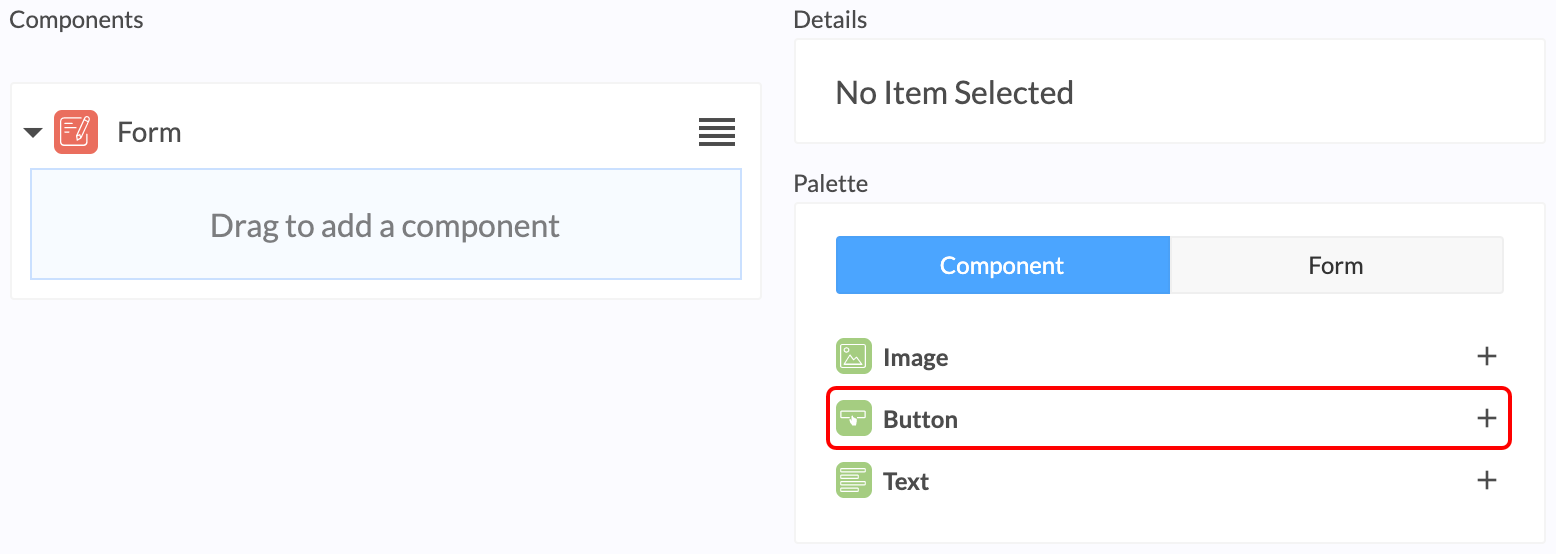
3. Add three Input Boxes and one Button component to the Form
Step 5: Configure the Input Boxes in Blue Bite’s Studio
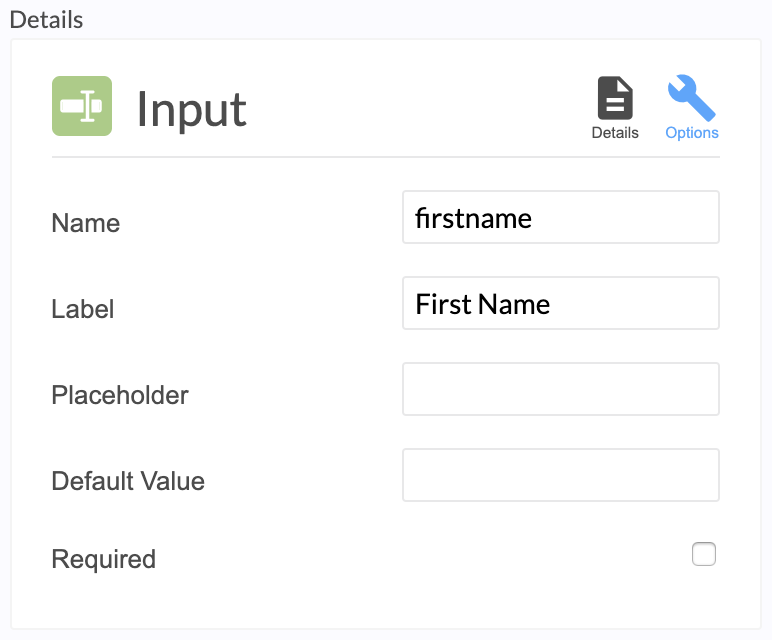
The 'name' field in the input boxes needs to match the form macros used as values in the JSON body in Step 4B. For simplicity, we recommend using the 'Internal values' provided by Hubspot as your 'name' fields in Blue Bite's Studio.
1. Navigate back to the Hubspot form you created and select the First name field. On the left-hand side of the screen, the Internal name for the field is highlighted in the sentence Configuration for 'firstname' field.
.png)
2. Enter the configuration, firstname, in the Name field for that Input in the Studio. Note this field is not visible to the user. The ‘Label’ field will be visible to the user.
3. Repeat the steps above to identify the Internal names for the Last Name (lastname) and Email (email) Inputs
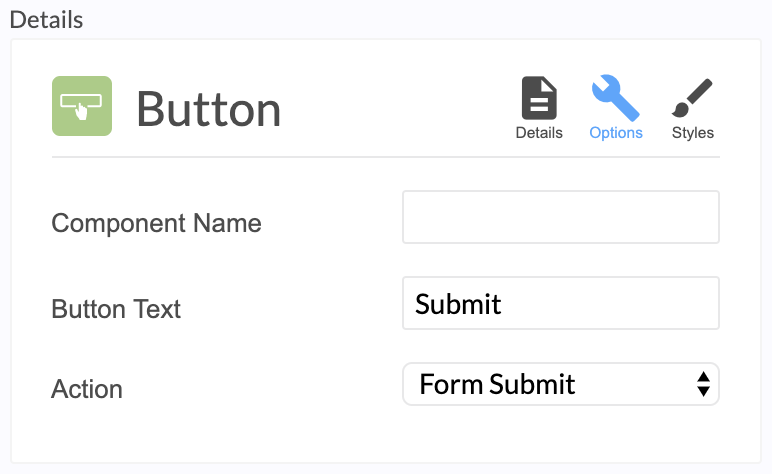
4. Change the Action of the Button to Form Submit
Step 6: Test the form
Preview the experience and fill out the form completely to ensure Hubspot is capturing user data submitted from the form created in Blue Bite’s Studio.
1. Preview the form in the Studio

2. Fill in all fields and click the Submit button
3. Return to your HubSpot account. Navigate to the Forms page. Select the relevant Form > Actions > View submissions. Your most recent form entry should be listed there.
More
Tutorials


