What are Blue Bite Studio Macros?
Macros are short commands used in the Blue Bite Studio that return associated data or values when the Experience is rendered on an end user’s device.
A simple macro illustration
An NFC tag embedded in a shoe contains color data for that shoe, stored as Custom Tag Data in the Blue Bite Dashboard. As a Studio user, you want your end user’s Experience to display the color of the shoe when tapped, so you insert a macro in a Studio field to return that tag data.
My shoe is {{ tag:data:color }}.
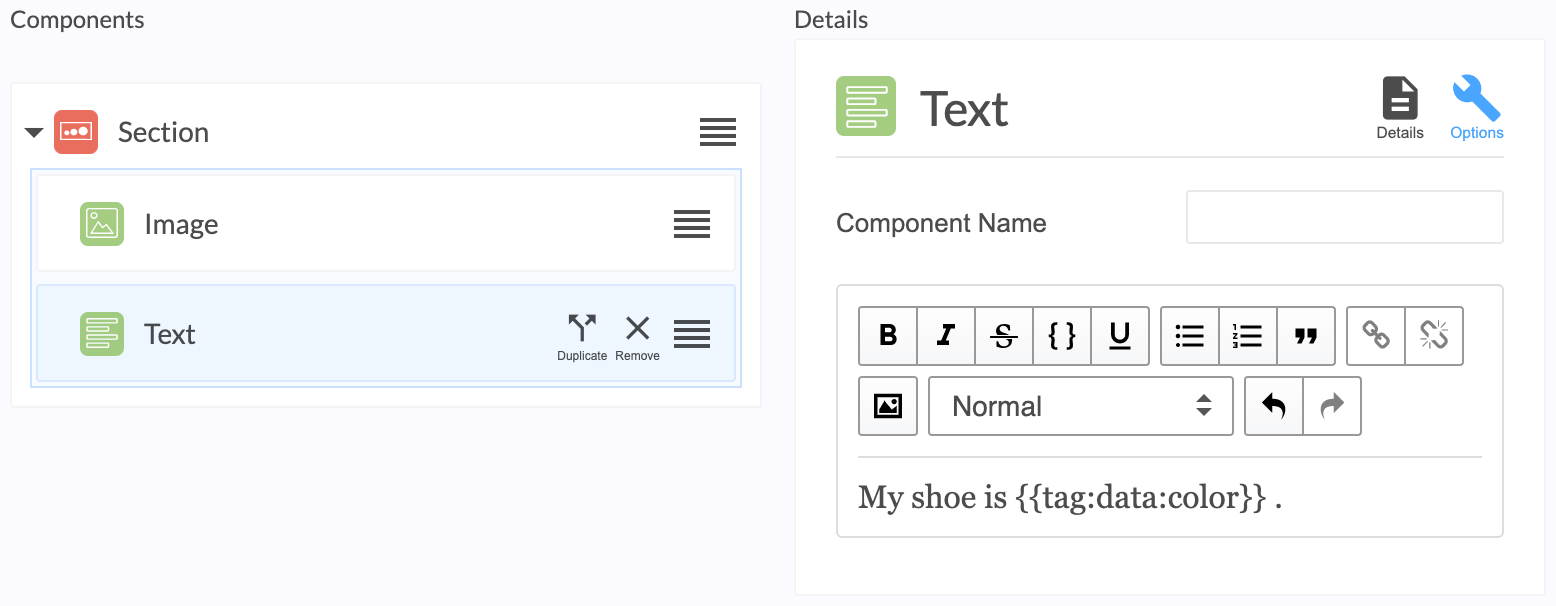
The macro — in double curly braces — returns that tag information, displaying it in the rendered digital Experience:
My shoe is yellow.
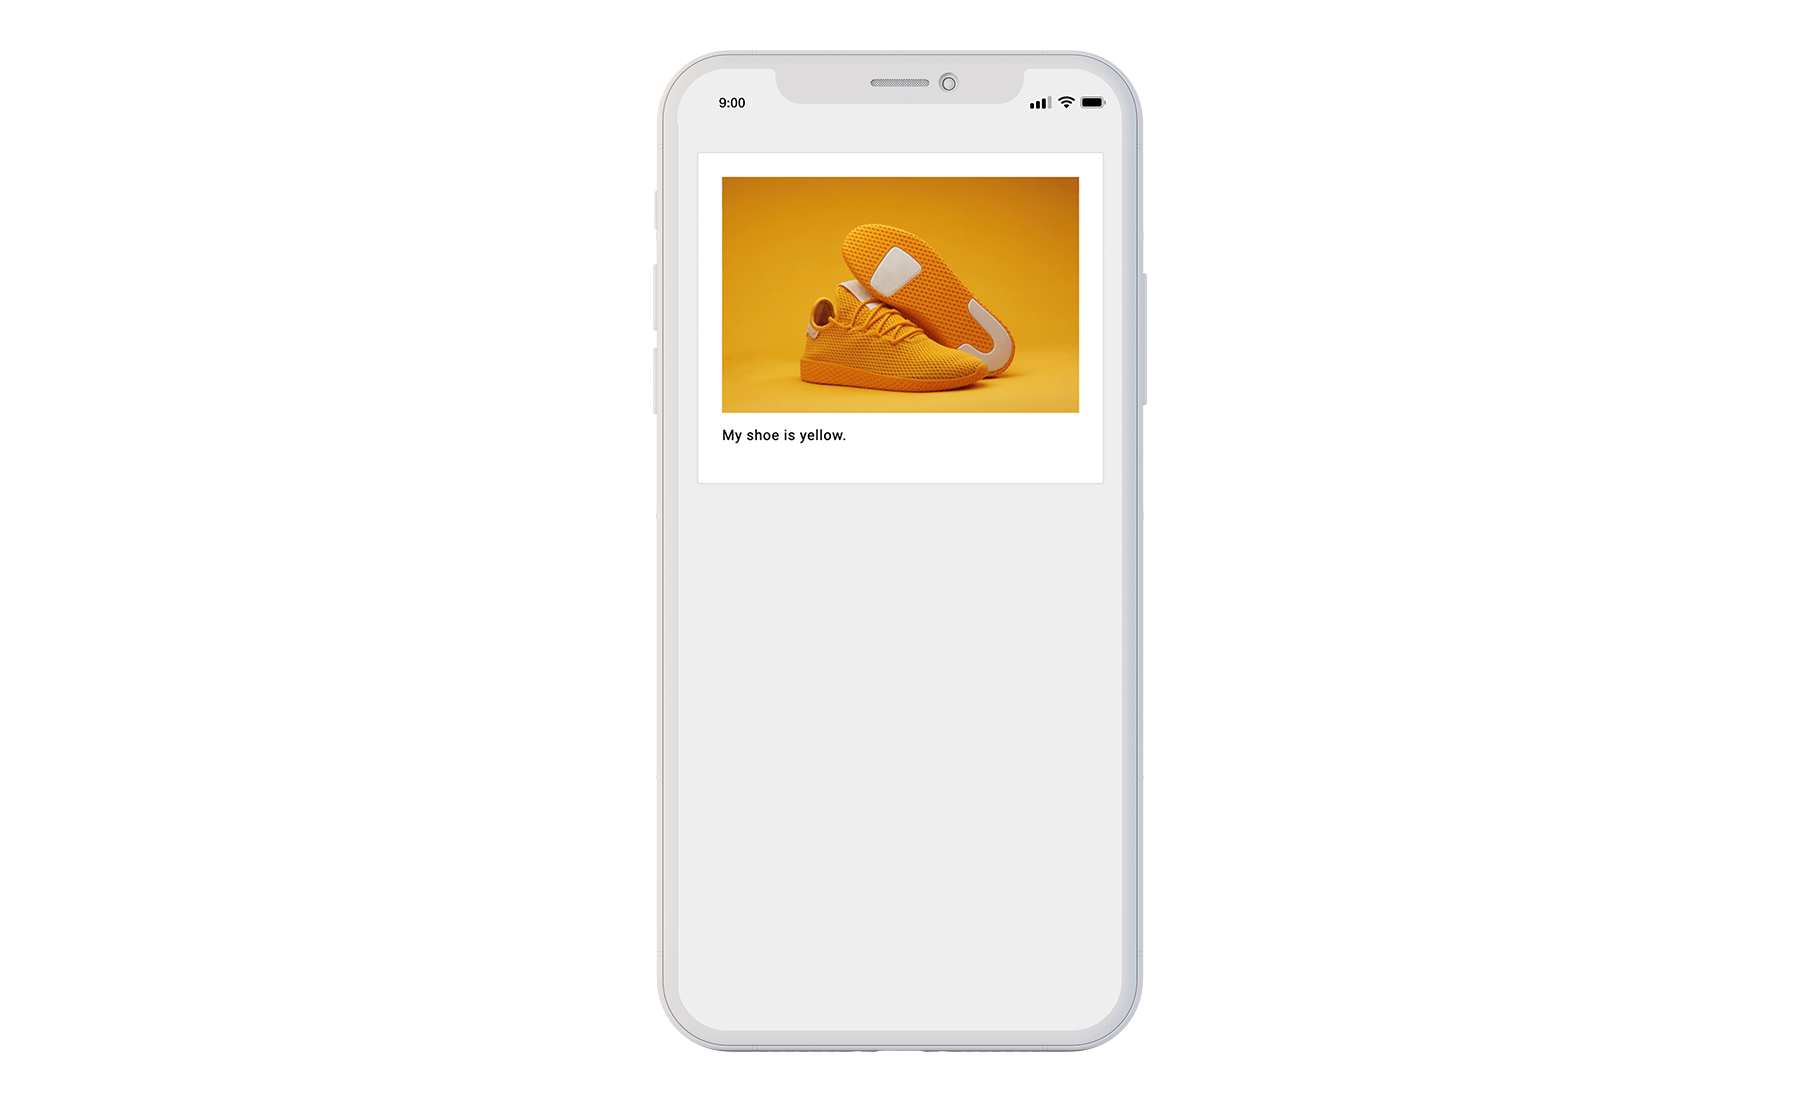
If the user then went and tapped a red version of the same type of shoe, the Experience would change to display “My shoe is red.” Macros are simple ways to create contextual and personalized Experiences.
Macros can return information from a wide variety of sources, including object properties, object data, interaction data, device information, local variables, forms, API responses and more.
Macro Syntax
Macros are written as a single expression surrounded by double curly braces {{ }}. The most common type of macro expression contains an object and one of its properties separated by the access operator :. Multiple access operators can be used to continually index into nested objects using additional references.
You also can add a fallback default value to display if the macro returns an error by entering it after a double pipe ||. A completed macro, then, for an object with assigned color data looks like: {{ tag:data:color || "no color" }}. See more on Macro syntax and language.
You can insert macros in nearly every field within the Studio, including:
- Text fields
- Image source or alt text
- Action URL
- Event Wrapper Values
- Form Inputs and Form Body
Macros usually return their corresponding value automatically when the Experience is rendered. However, in the case of macros that rely on the end user to take an action in an Experience — such as submitting a form — the macro returns a value in response to that action.
Common Macro Examples and Use Cases
Local Variables
Local variables represent in-page actions consumers take while visiting an Experience and are saved locally on their device. Local variables are used for many purposes, including: tracking page views, remembering if a consumer has submitted a form, or even for creating two different Experiences for a sales associate and shopper. Local variables are available until a devices’ browser local data and device cookies are cleared.
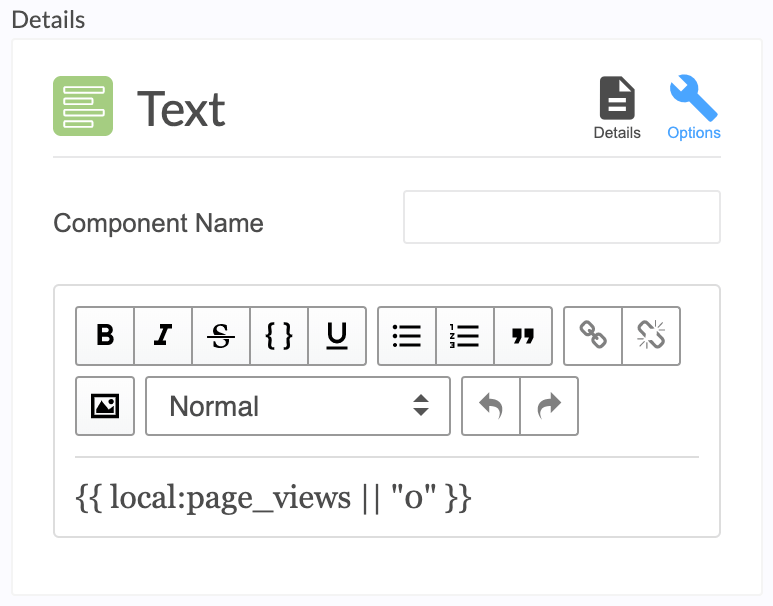
The following example illustrates how local variables can be used to display the number of times a consumer has viewed a page:
Local variable macro: {{ local:page_views || "0" }}
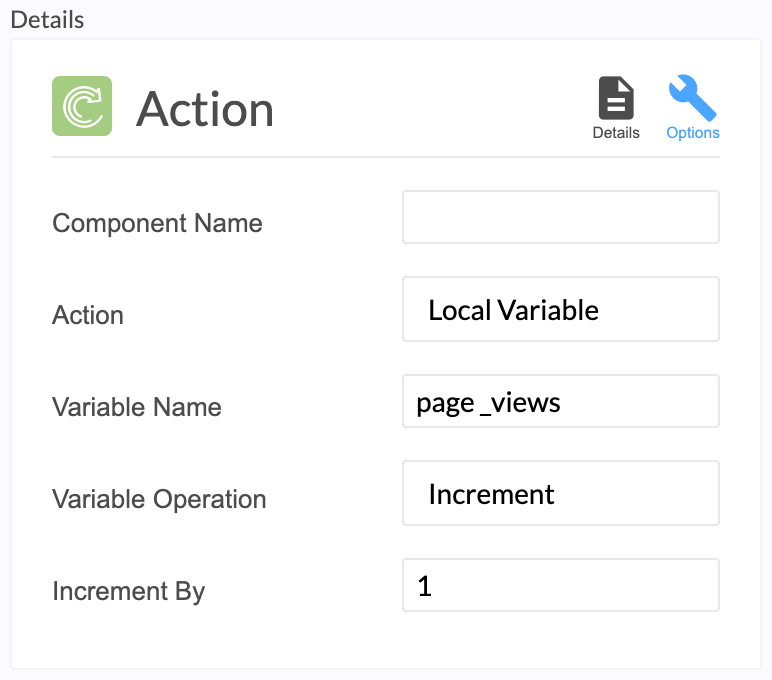
Step 1. Add an Action component to the Studio file. Configure the Action component as follows:
Tip: See definitions for all the terms used below in the Blue Bite Glossary.
Step 2. Add a Text component and insert this macro: {{ local:page_views || "0" }}
Step 3. Preview the Experience:
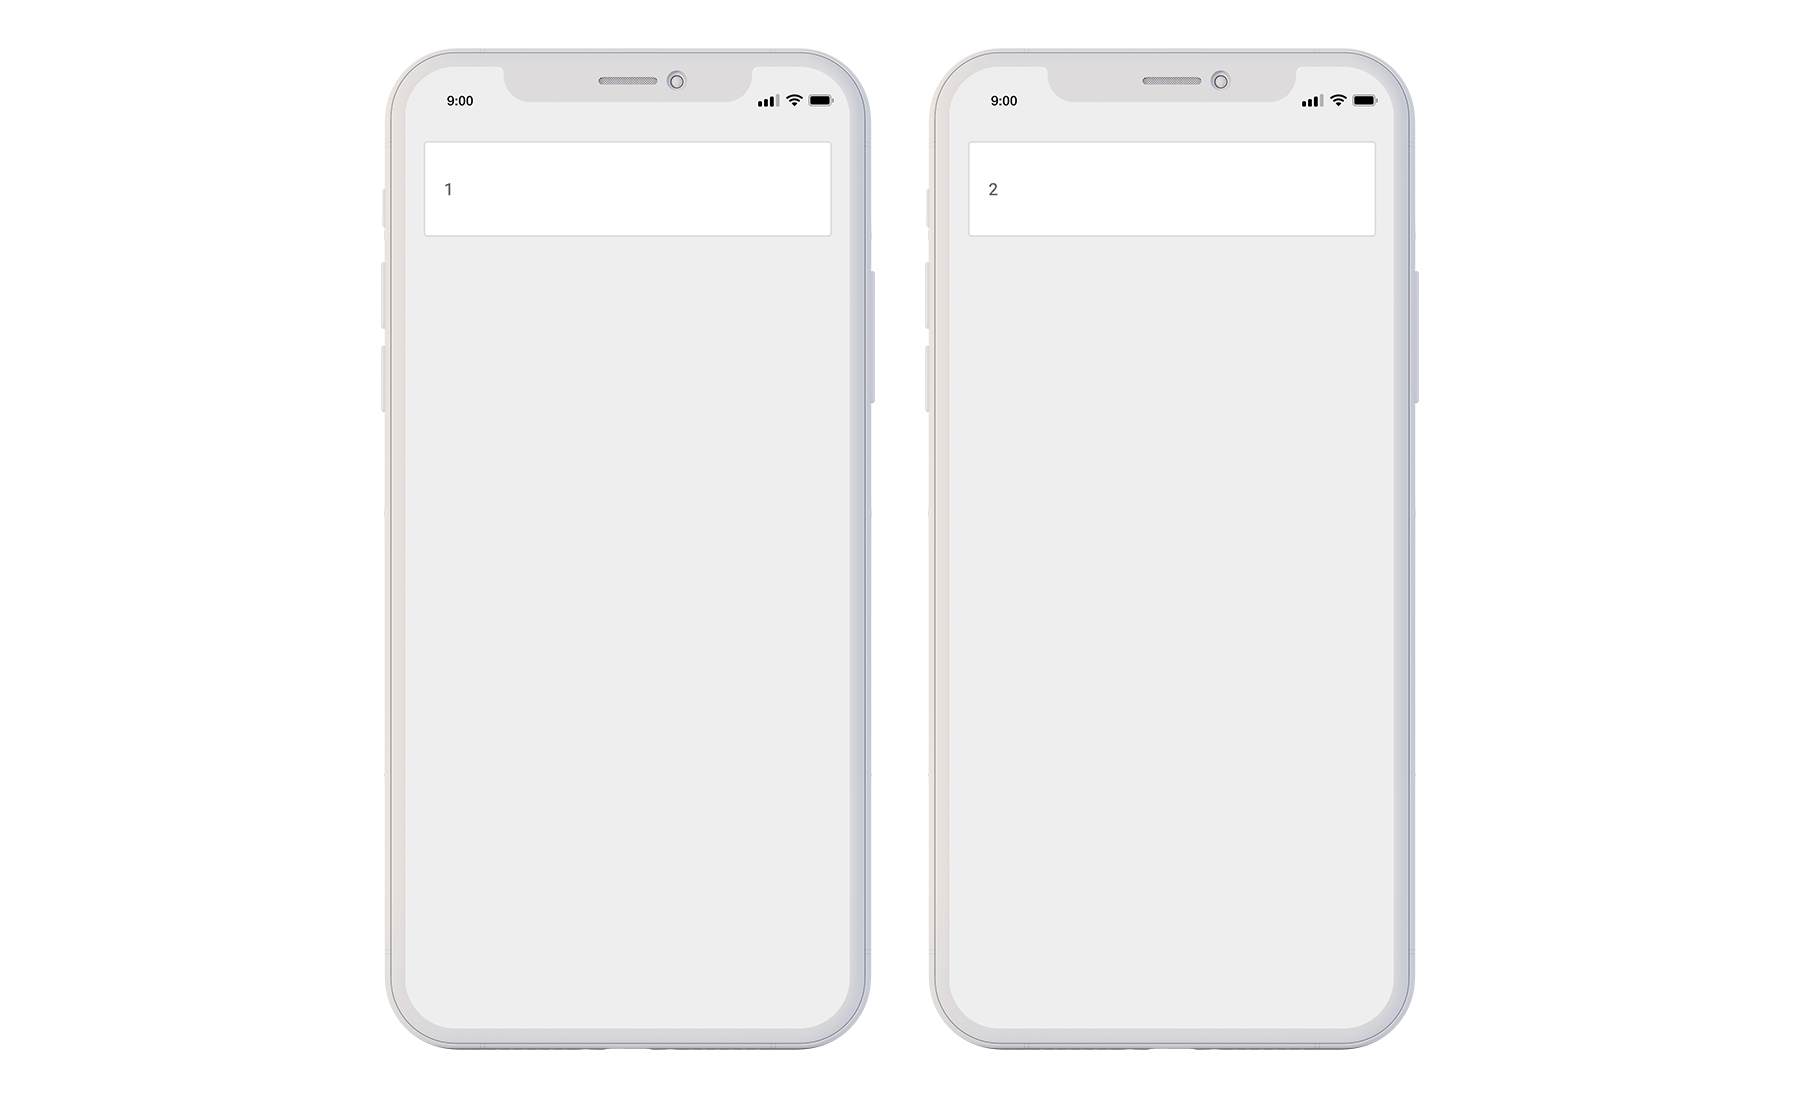
First page view on the left, Second page view on the right.
Object Variables
Object Variables are data you assign in the Blue Bite Dashboard that cannot be modified by end users, such as Asset ID, Asset Type, Venue Type, Venue Name, etc.
See the Custom Attributes page to learn how to edit tag properties in the Dashboard.
This example shows how to use tag properties to track a Venue Name, which is a property you can set to display the location of the tapped object:
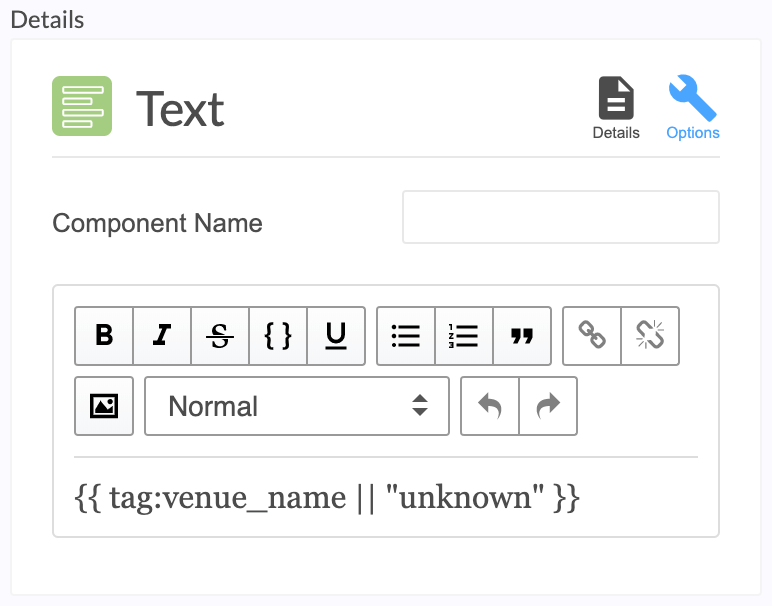
Tag property macro: {{ tag:venue_name || "unknown" }}
Step 1. Configure the property value in the Object Manager:

Step 2. Add a Text component in the Studio file utilizing this macro:
Tip: Make sure the Experience is assigned to the object.
Step 3. Preview the Experience:

Object Attributes
Object Attributes are custom properties assigned in the Object Manager This example shows how to use Object Attributes properties in the Studio for an object with a defined SKU:
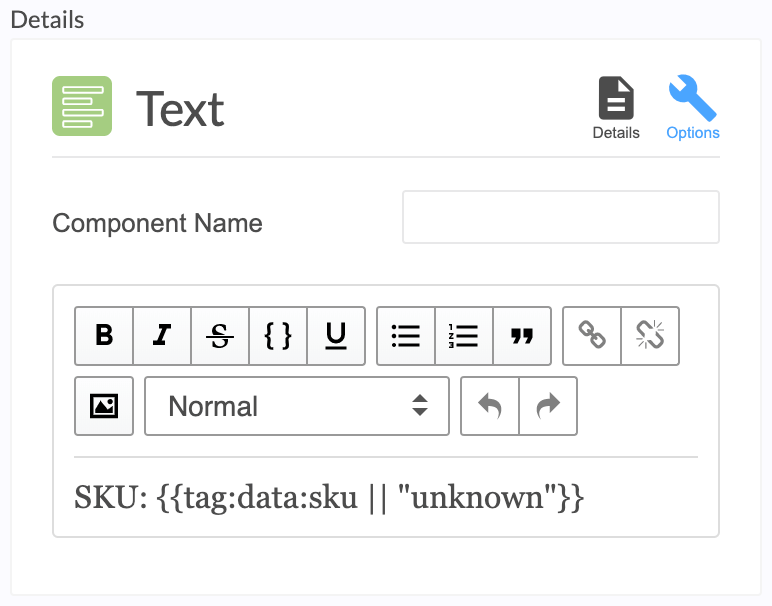
Tag data macro: {{ tag:data:sku || "unknown" }}
Step 1. Edit the “Custom Tag Data” field in the Dashboard to add the SKU number of the item:
Note: Don’t forget to press the ⊕ icon

See the Custom Attributes page to learn how to edit tag properties in the Blue Bite Dashboard.
Step 2. Add a Text component in the Studio file that includes the macro:
Step 3. Preview the Experience:

Note: A macro may fail due to improper syntax or because the referenced field does not exist. If a macro fails, it will return an error and the component it is used in will not be displayed. See the Fallback and Errors section below to see what to do in case a macro fails.
Fallbacks and Errors
Keep in mind that a macro may fail due to improper syntax or because the referenced field does not exist. If a macro fails, it will return an error and the component it is used in will not be displayed. This section details what to do in case a macro fails.
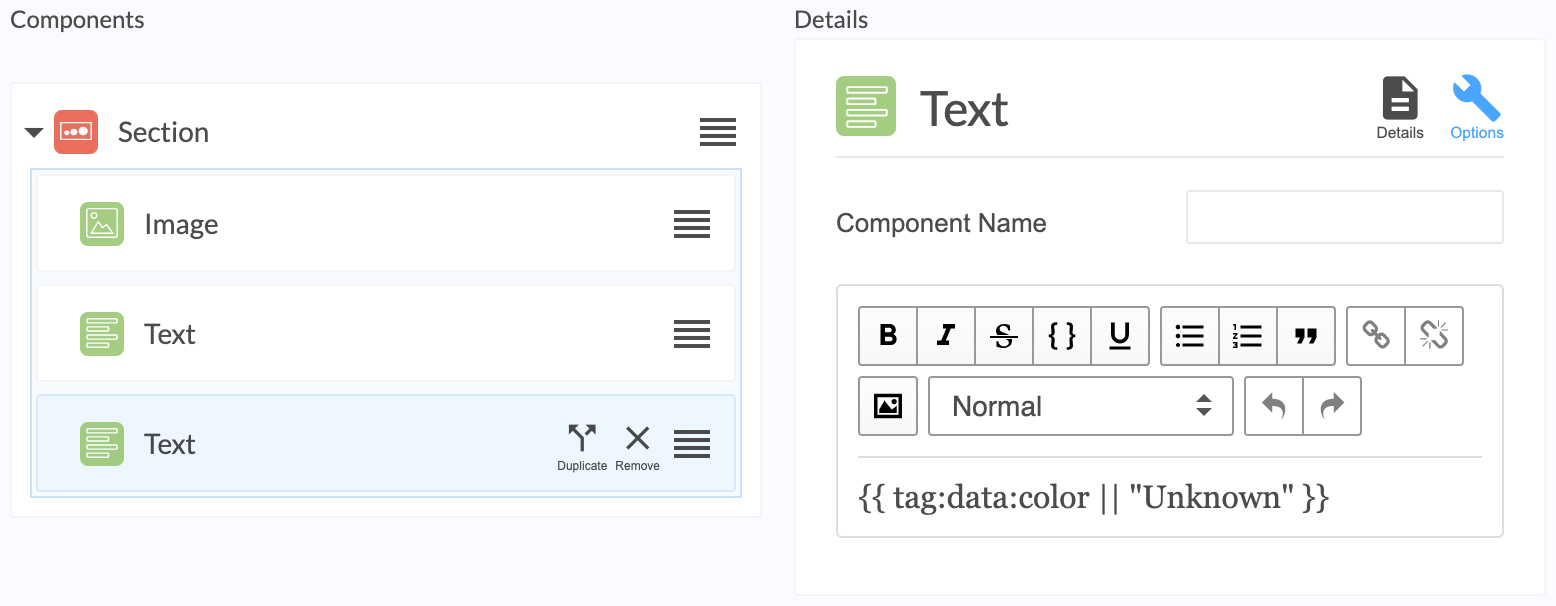
As a best practice, include a fallback, or default, value in every macro to display if the macro expression fails to return properly. In macro syntax, fallback values are indicated with a double pipe ||, called the fallback operator.
This macro includes a fallback: {{ tag:data:custom_property || "fallback value" }}.
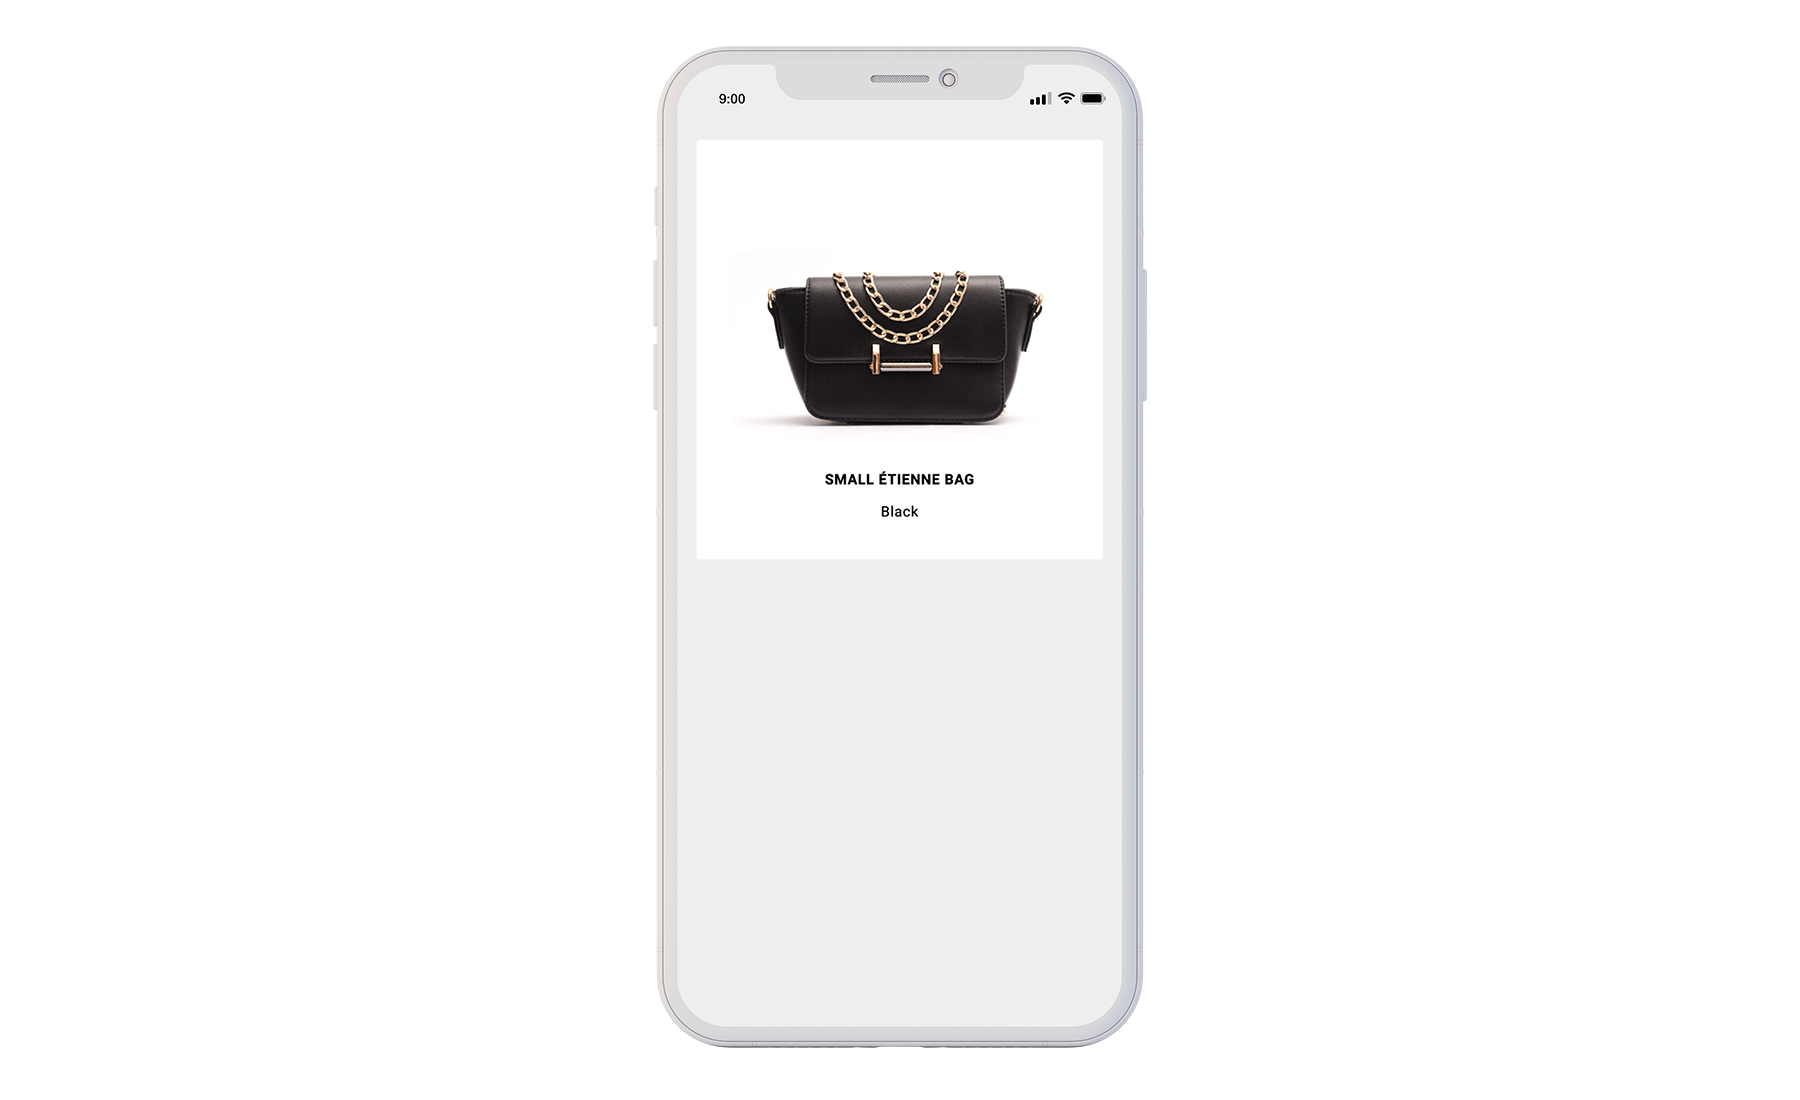
The following examples demonstrate what a macro will return given different sets of Tag Data for a luxury purse with an NFC chip embedded.
Case 1: Tag Data property color exists on the object, its value is: Black.
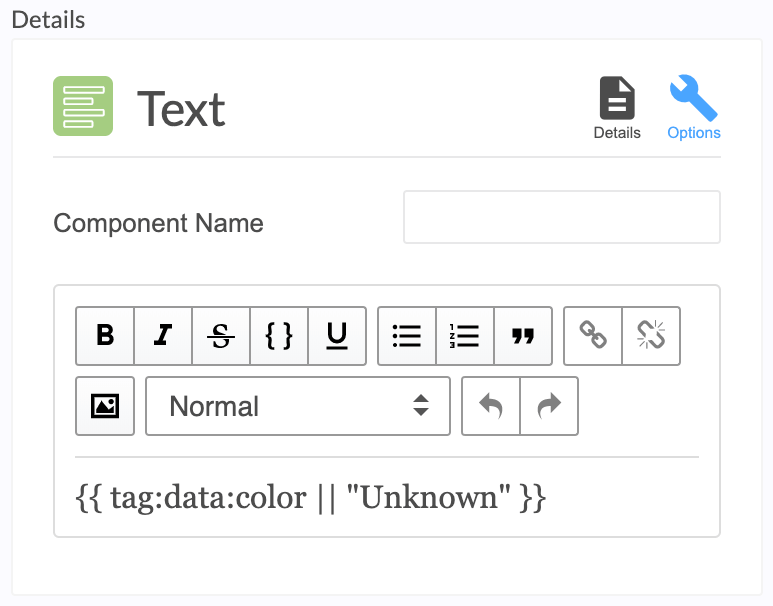
Macro: {{ tag:data:color || "Unknown" }}
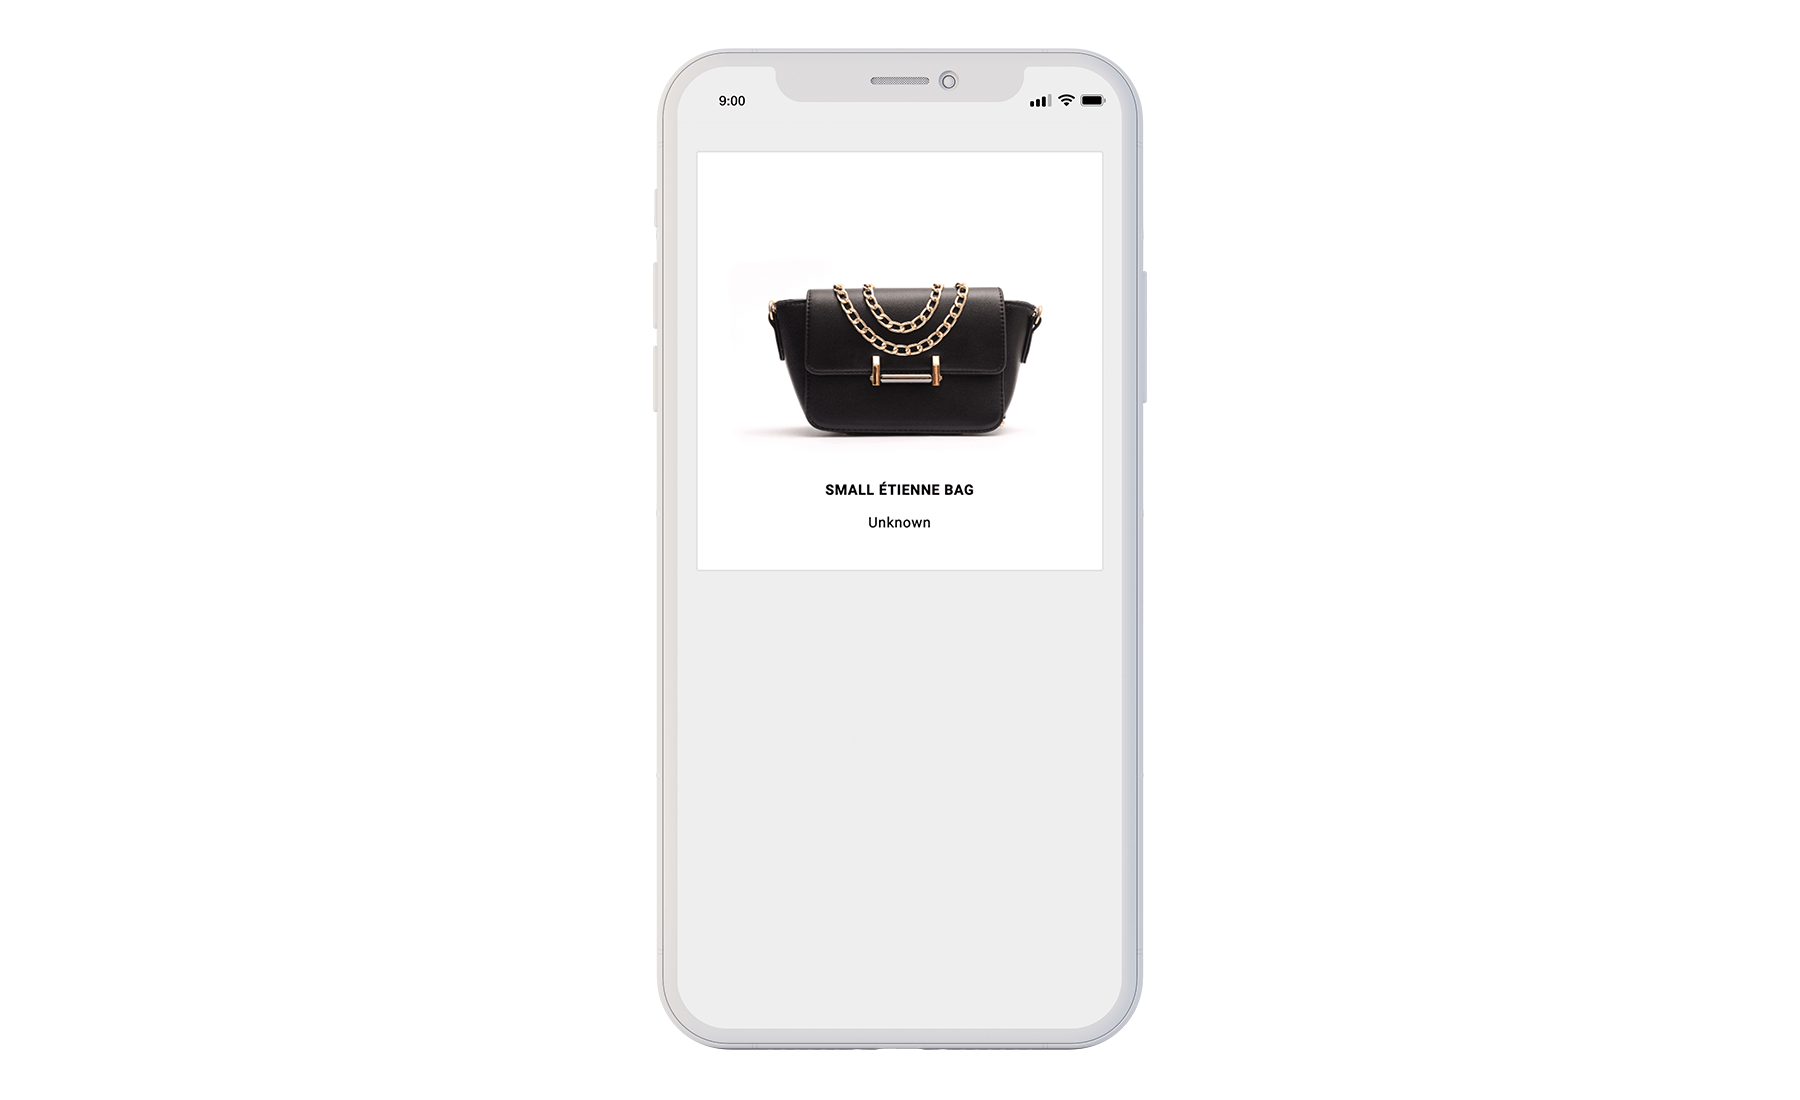
Case 2: Tag Data property color does not exist on the object, so the fallback value is rendered on the Studio page.
Macro: {{ tag:data:color || "Unknown" }}
Case 3: Tag Data property color does not exist on the object, because there is no fallback, the macro returns an error and there is no output.
Macro: {{ tag:data:color }}
.png)
