Experience Studio
This documentation is for our current platform, hosted at bluebite.com. If you are still using the mtag.io Object Manager or Studio to manage your Blue Bite account, please see our Legacy Documentation.
Fundamentally a website builder, the Blue Bite Studio provides drag-and-drop tools to build mobile web pages that bring rich content directly to consumers when they tap or scan your objects. However, unlike other website builders, the Studio integrates object data from the Object Manager, allowing you to create dynamic Experiences.
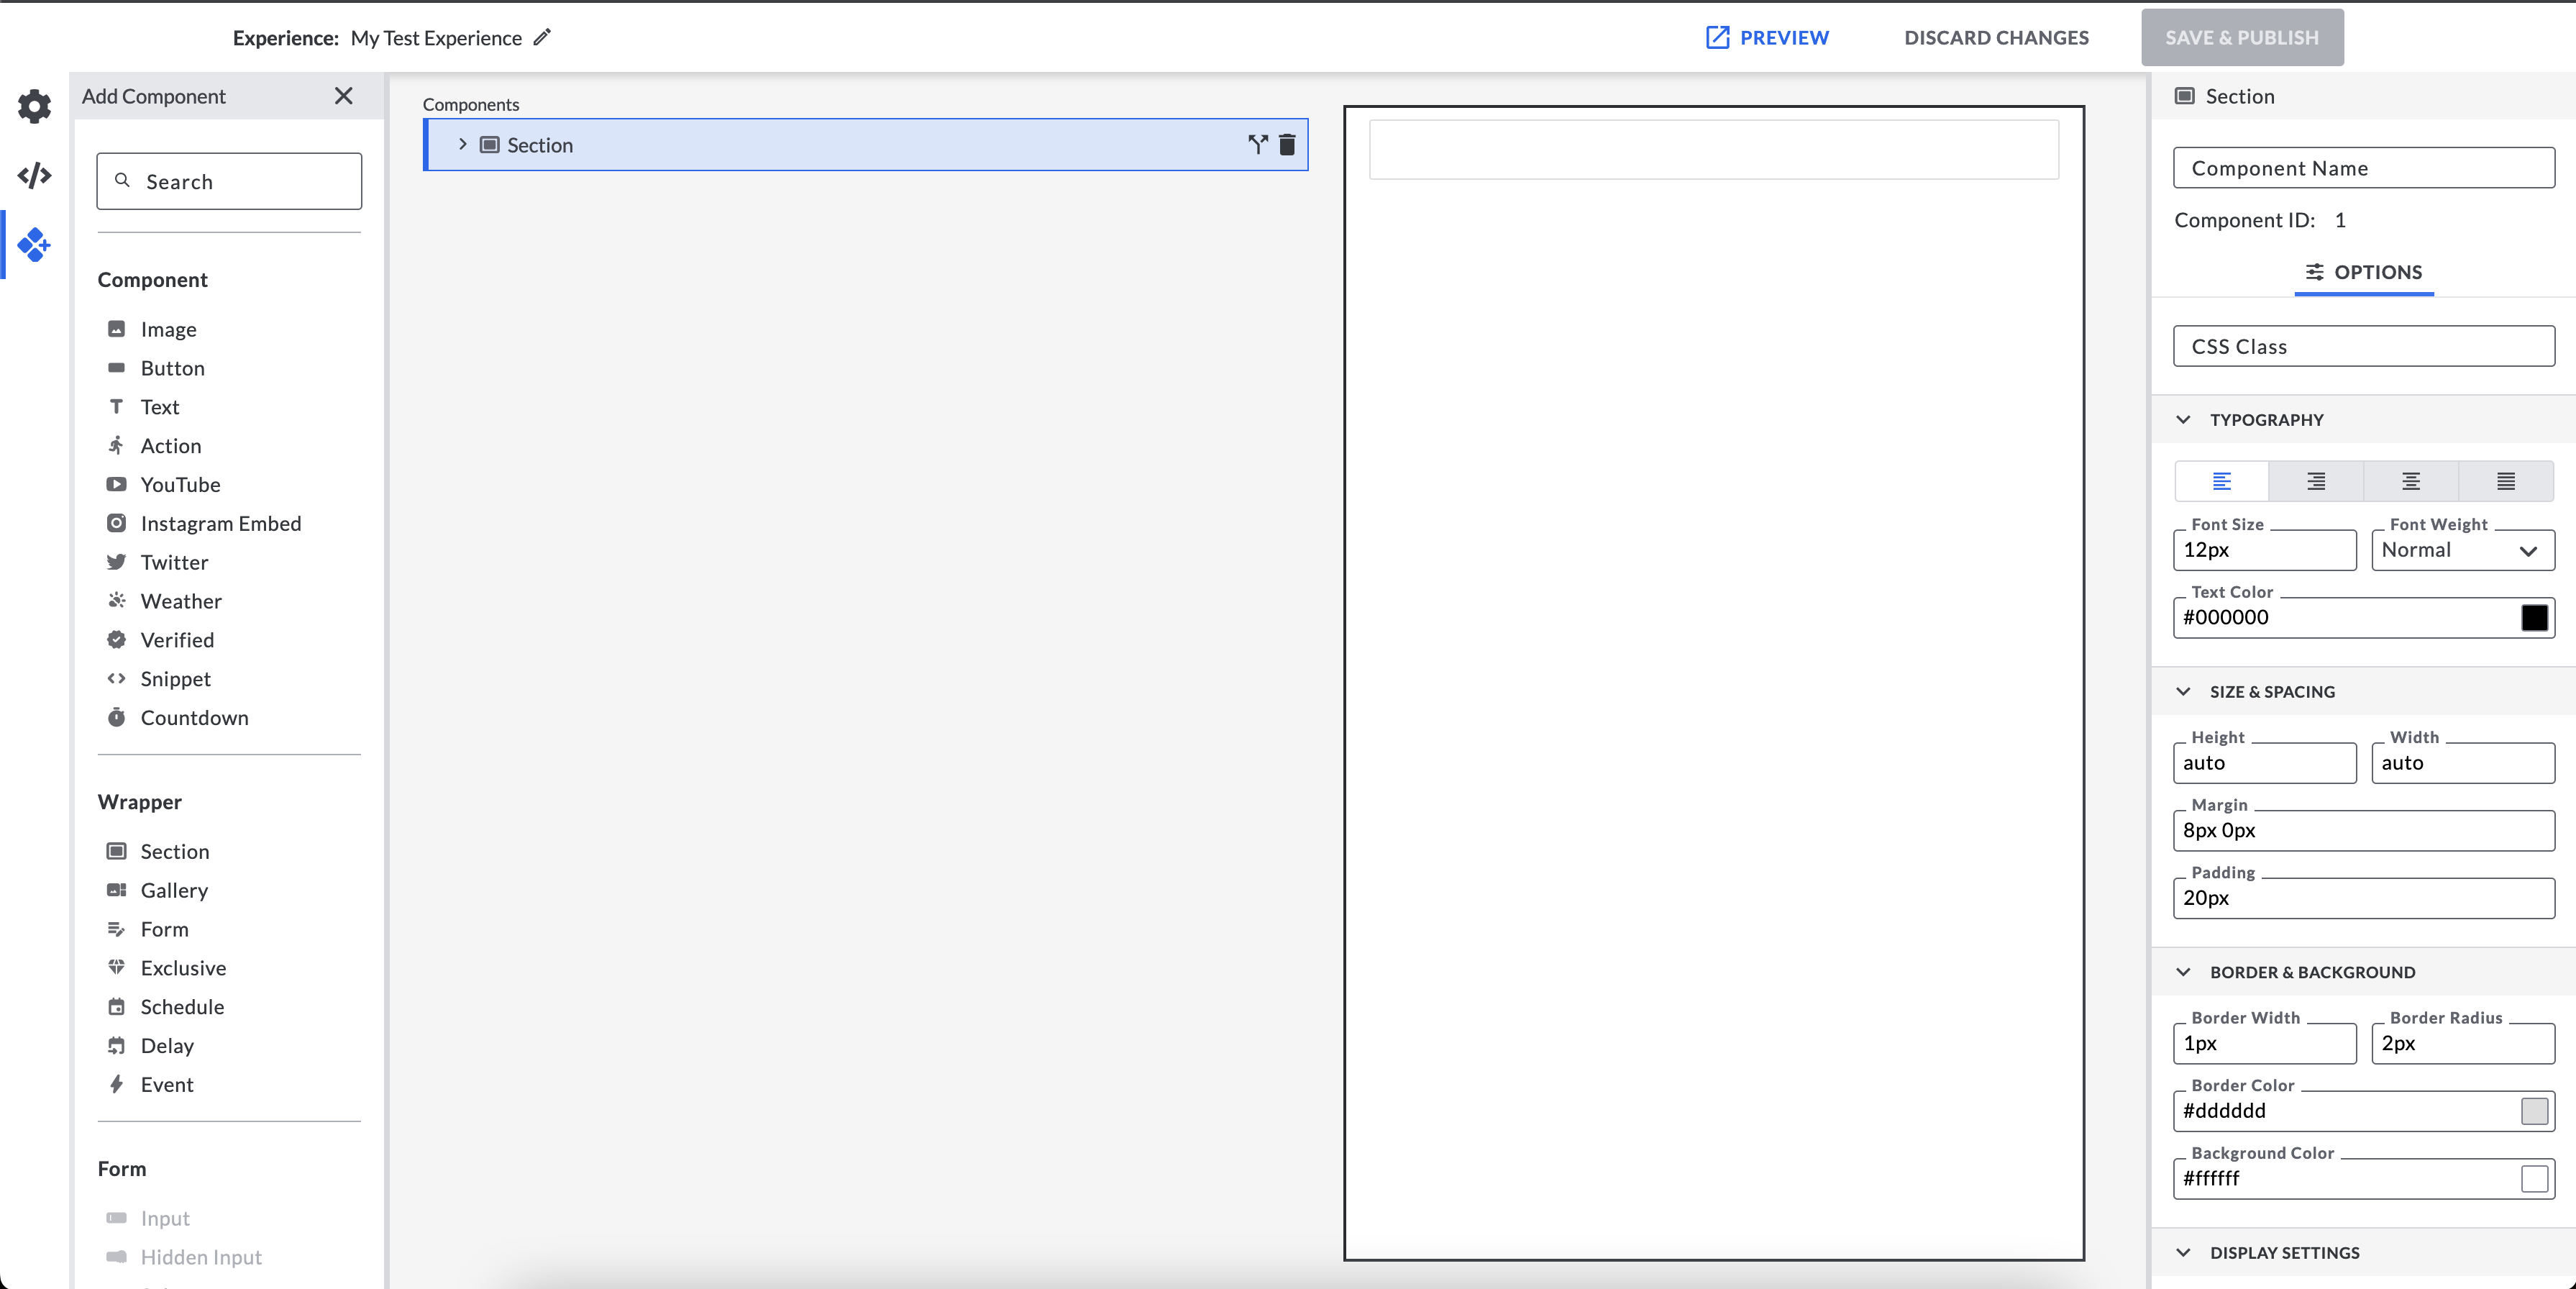
Experiences designed in the Studio are built from several Components and Wrappers that can be added, removed, duplicated, and reordered to your liking.
Accessing the Studio
While logged into the Object Manager, click on the Studio tab in the navigation bar.
Alternately, navigate directly to studio.bluebite.com and use the same login credentials you use to access the Object Manager.
Create a New Experience
There is no limit to the number of pages that can be created in the Studio. Each new configuration is called an Experience and will have its own Name, Description, and ID.
On the Studio homepage, select the New Experience button at the upper right corner of the page.

The new Experience file will open and you can begin configuring your mobile Experience.
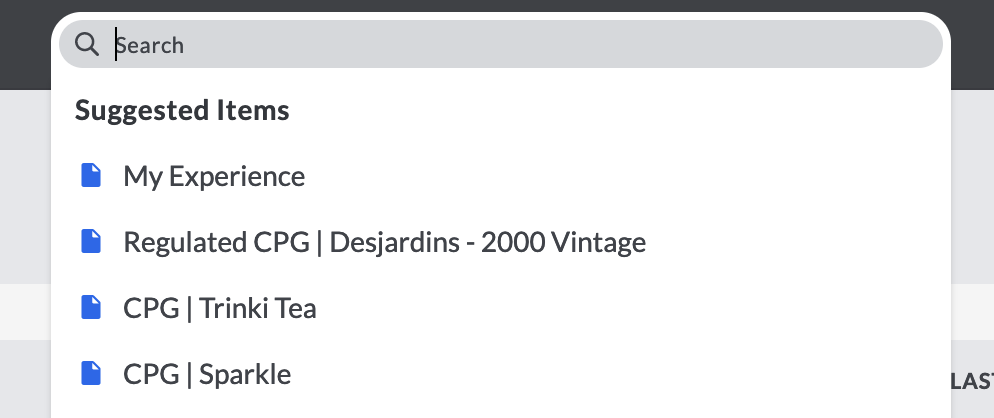
You can quickly find your existing Experience by entering either the Name or the ID into the search field in the Studio.
Configure an Experience
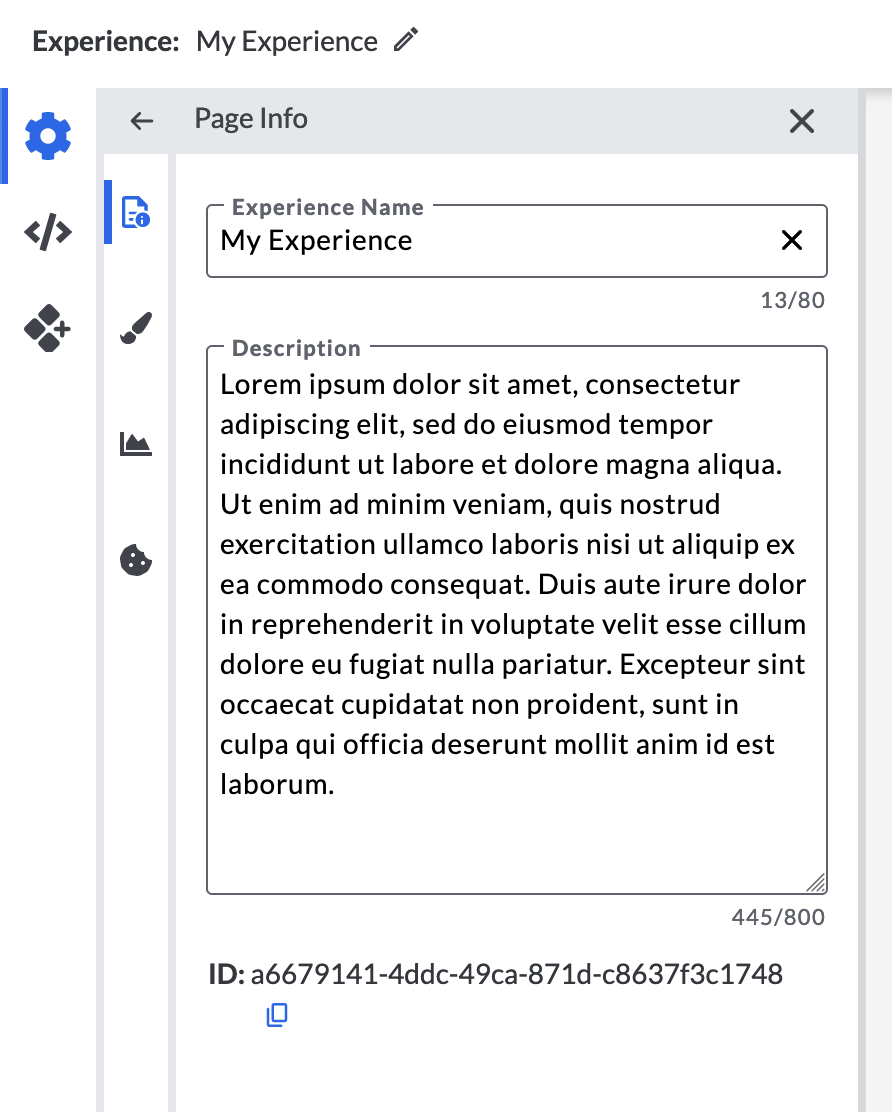
The “Page Info” section is where you can name your Experience, locate the unique Experience ID and provide a brief description.
Just below, in the “Page Design” section, you can specify the overall Experience style and activate Google Analytics for your Experience.
Global Page Design

Component Styling
Components can be styled to match your brand / style preferences.
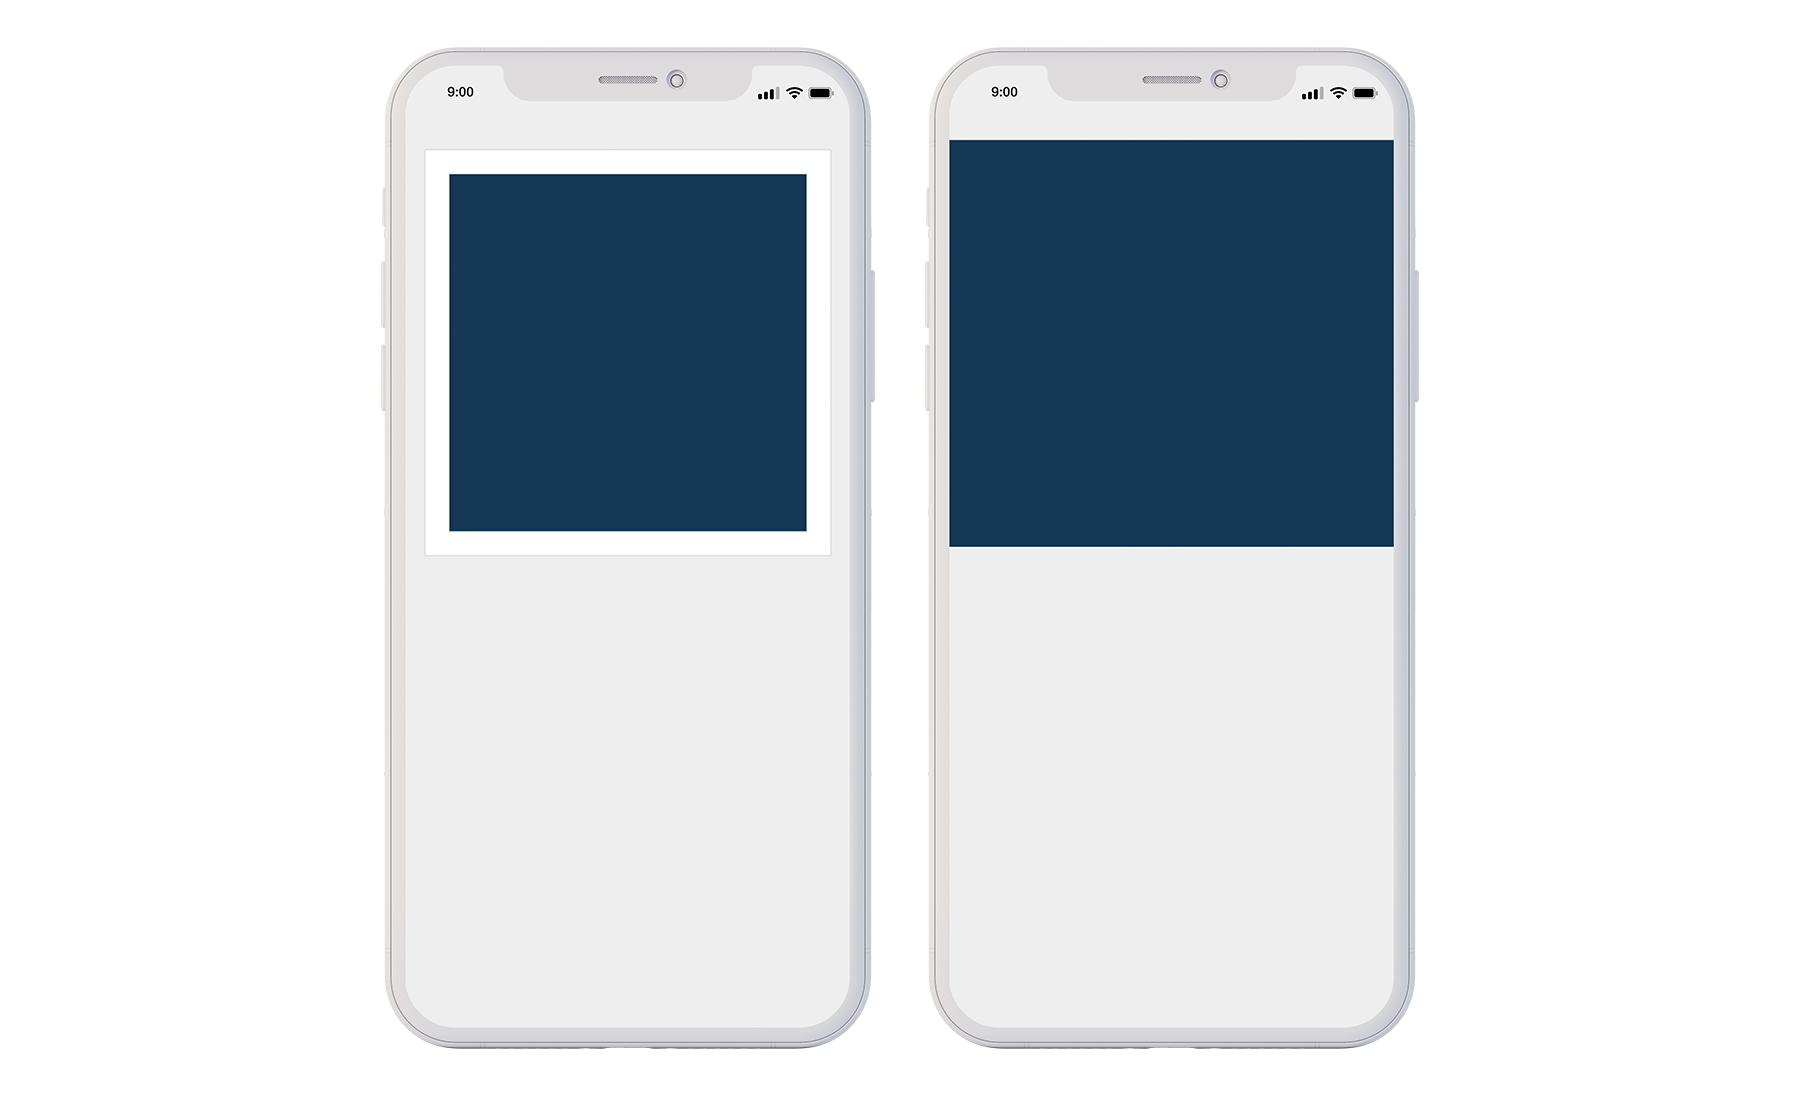
- No Borders: Will have a border around each Component (left)
- Borders: Will have no borders (right)
Background Color & Image
Customize the Experience background with either an image or specific color. Click on “Select Image” in order to choose an image directly from your computer, or use Hex Color Codes to choose the perfect color to match your Experience look and feel:
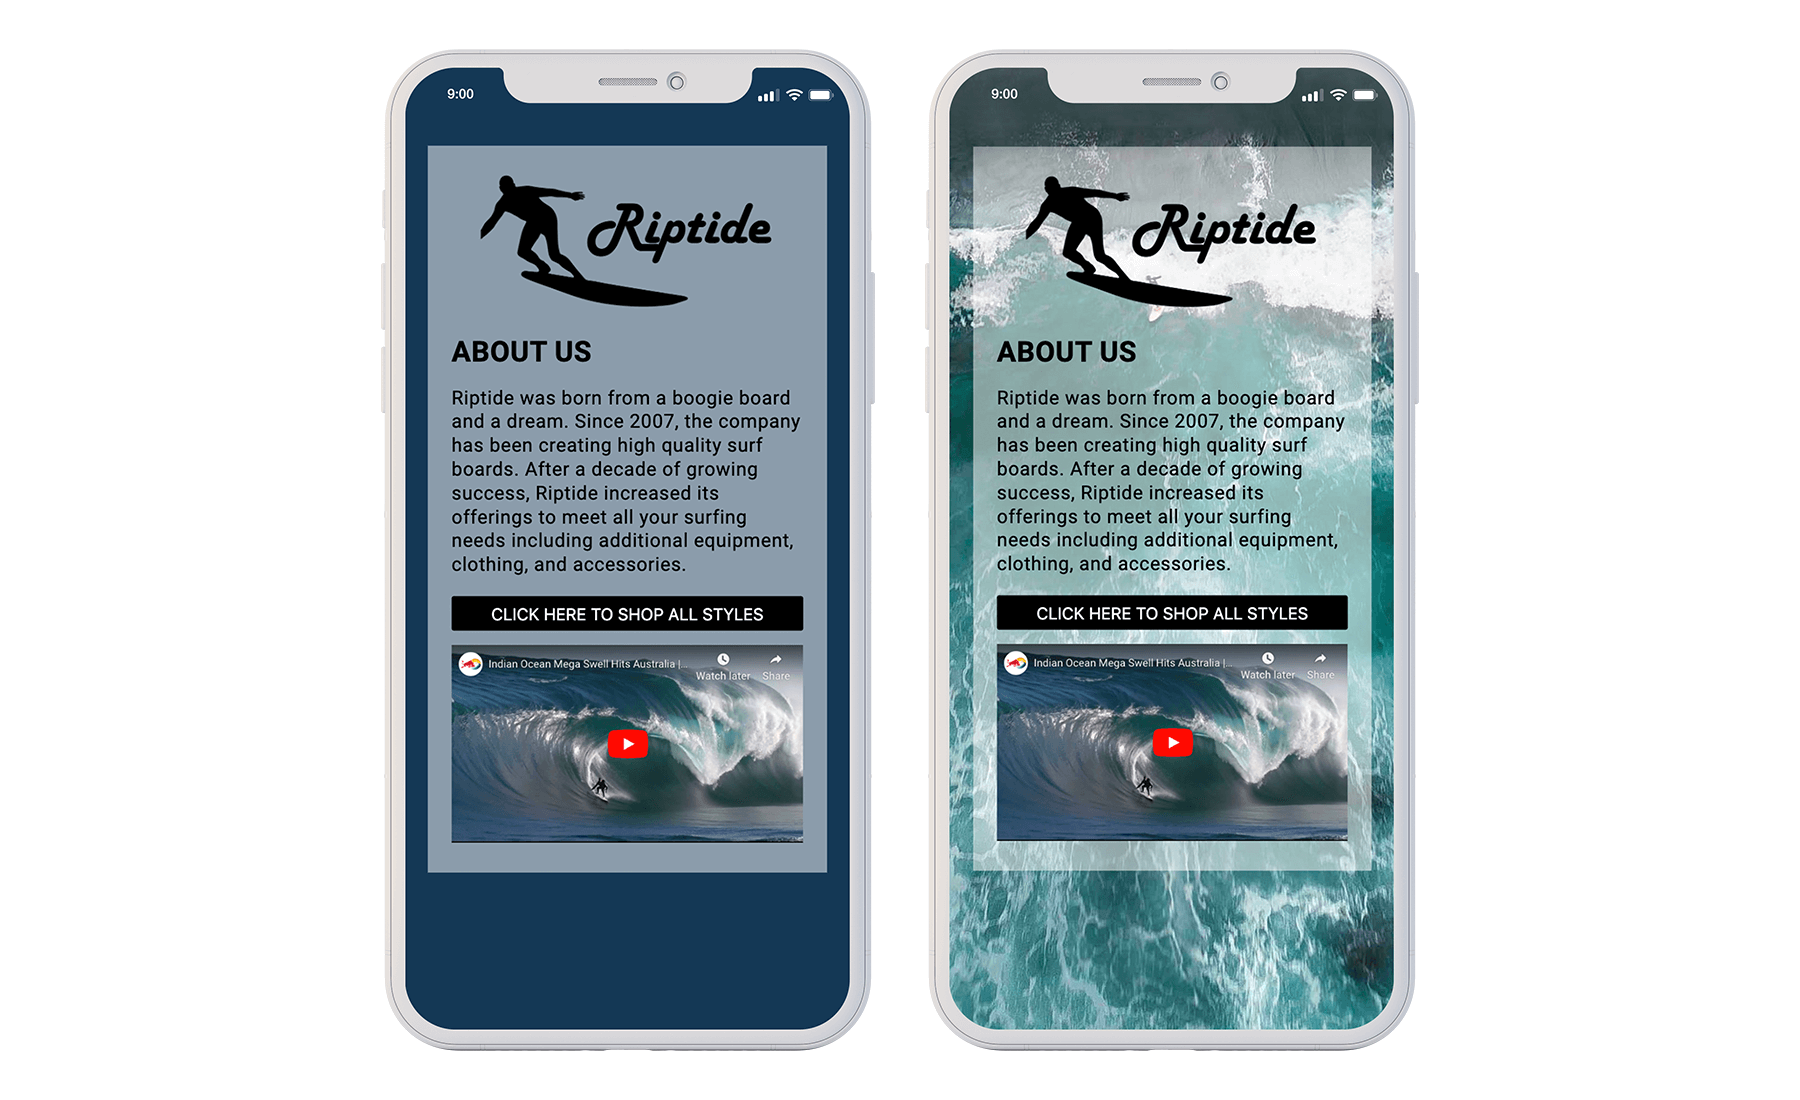
Tip: If Component Style is set to “No Borders”, the background will not show up unless the Experience does not fill the entire phone screen.
Analytics
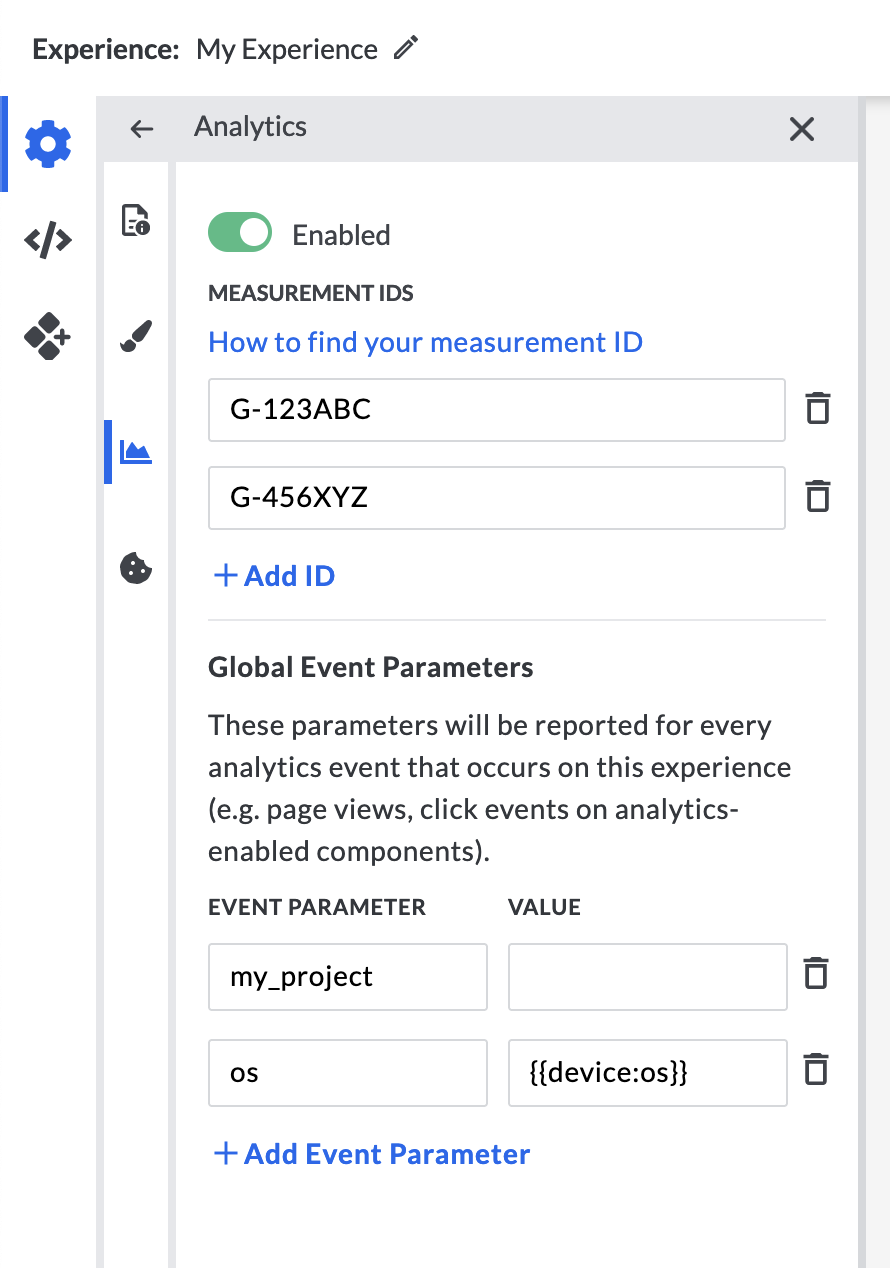
Easily integrate the Studio with Google Analytics to provide a free and easy way to track actions within Experiences, such as Button clicks, Form submissions and more. Data such as unique users, time on page, and average session duration can also be tracked.
See Analytics & Reporting for more information on Google Analytics.
Cookie Banner
To help brands inform consumers about their cookie policy, you'll find a simple “Cookie Banner” component to the Blue Bite Studio. Find a walkthrough of the three easy steps to add this in the article How To Add A Cookie Banner To Your Blue Bite Experience.
Static and Dynamic Content
Apart from the global settings of an Experience, each Component has its own set of configurations. These fall into two categories:
- Static configurations: remain constant any time a particular Experience is rendered. The inputs are set within the Component's options.
- Dynamic configurations: pull in content associated with the object.

Tip: See the Macros section for in-depth information on how to use dynamic configurations in your Experience.
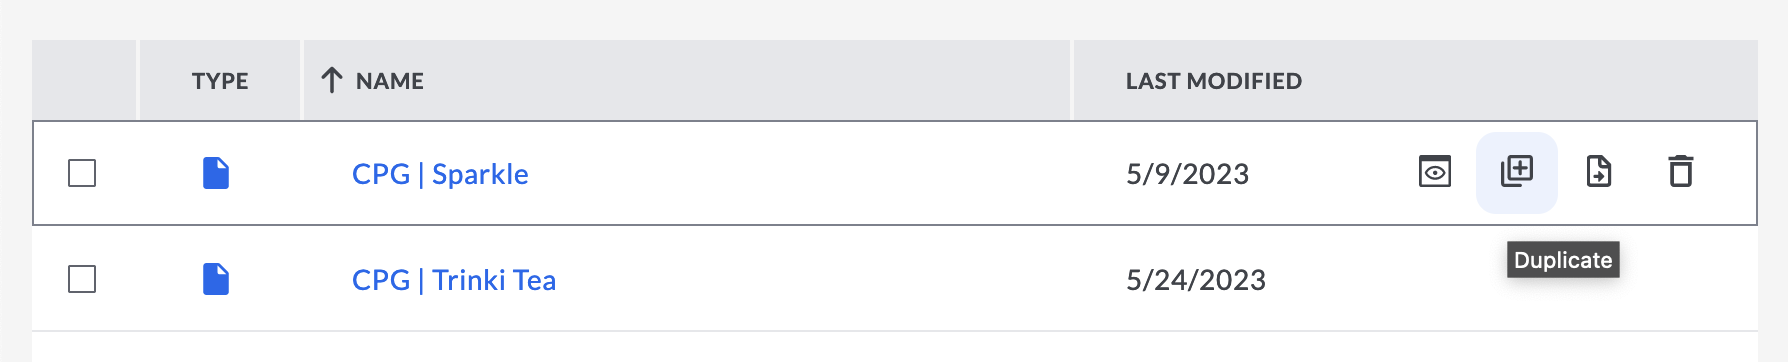
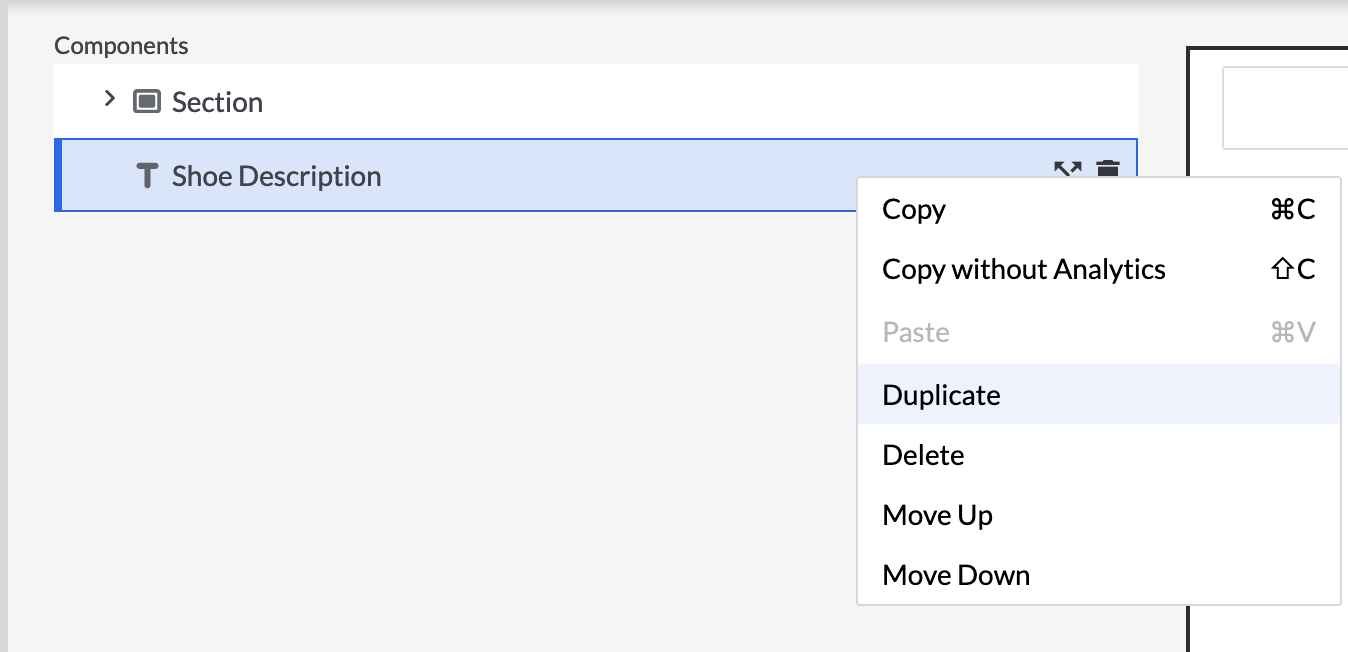
Duplicate, Drag and Drop
Easily duplicate entire Experiences to reuse your layout or logic for a new product.
Within an Experience, duplicate individual Components and Wrappers for reuse while building your Experience. You can also do this by copy and pasting from other studio files.
These Experience building blocks can be moved around as needed or nested within Wrappers simply by dragging and dropping them into the desired location. Click and hold on any part of the Component (other than the Duplicate and Remove buttons) and drag it to the appropriate location. Not all pieces will be compatible together, and the Studio will move the piece back to its original location if it is not compatible.
Tip: See Components for comprehensive information on the types of content to add to your Experience.
Associate an Experience to an Object
Once an Experience is created and configured, the next step is to assign it to an object.
- Navigate to the Object Manager
- Create a Project or navigate to an existing Project.
- From the Project page, choose “Add Objects” to select objects to add to your project.
- From the Project page, associate an Experience to your Project. “
- Click “Save”.

Tip: If an object is improperly configured, or if there is no Experience associated with it, it will display a fallback Experience.
